Exploring Kubernetes

What is Kubernetes?
Kubernetes provides the following functionalities:
- Service discovery and load balancing
- Storage orchestration
- Automated rollouts and rollbacks
- Automated bin packing
- Automated scaling
- Secret and configuration management
For more detailed information, refer to the official documentation.
There are various ways to run Kubernetes, but the official site uses minikube for demonstration. This article focuses on utilizing Kubernetes using Docker Desktop. If you want to learn how to use minikube, refer to the official site.
Let's briefly touch on minikube.
Minikube
Install
brew install minikube
Usage
The commands are intuitive and straightforward, requiring minimal explanation.
minikube start
minikube dashboard
minikube stop
# Clean up resources after use
minikube delete --all
Pros
Minikube is suitable for development purposes as it does not require detailed configurations like setting up secrets.
Cons
One major drawback is that sometimes the command to view the dashboard causes hang-ups. This issue is the primary reason why I am not using minikube while writing this article.
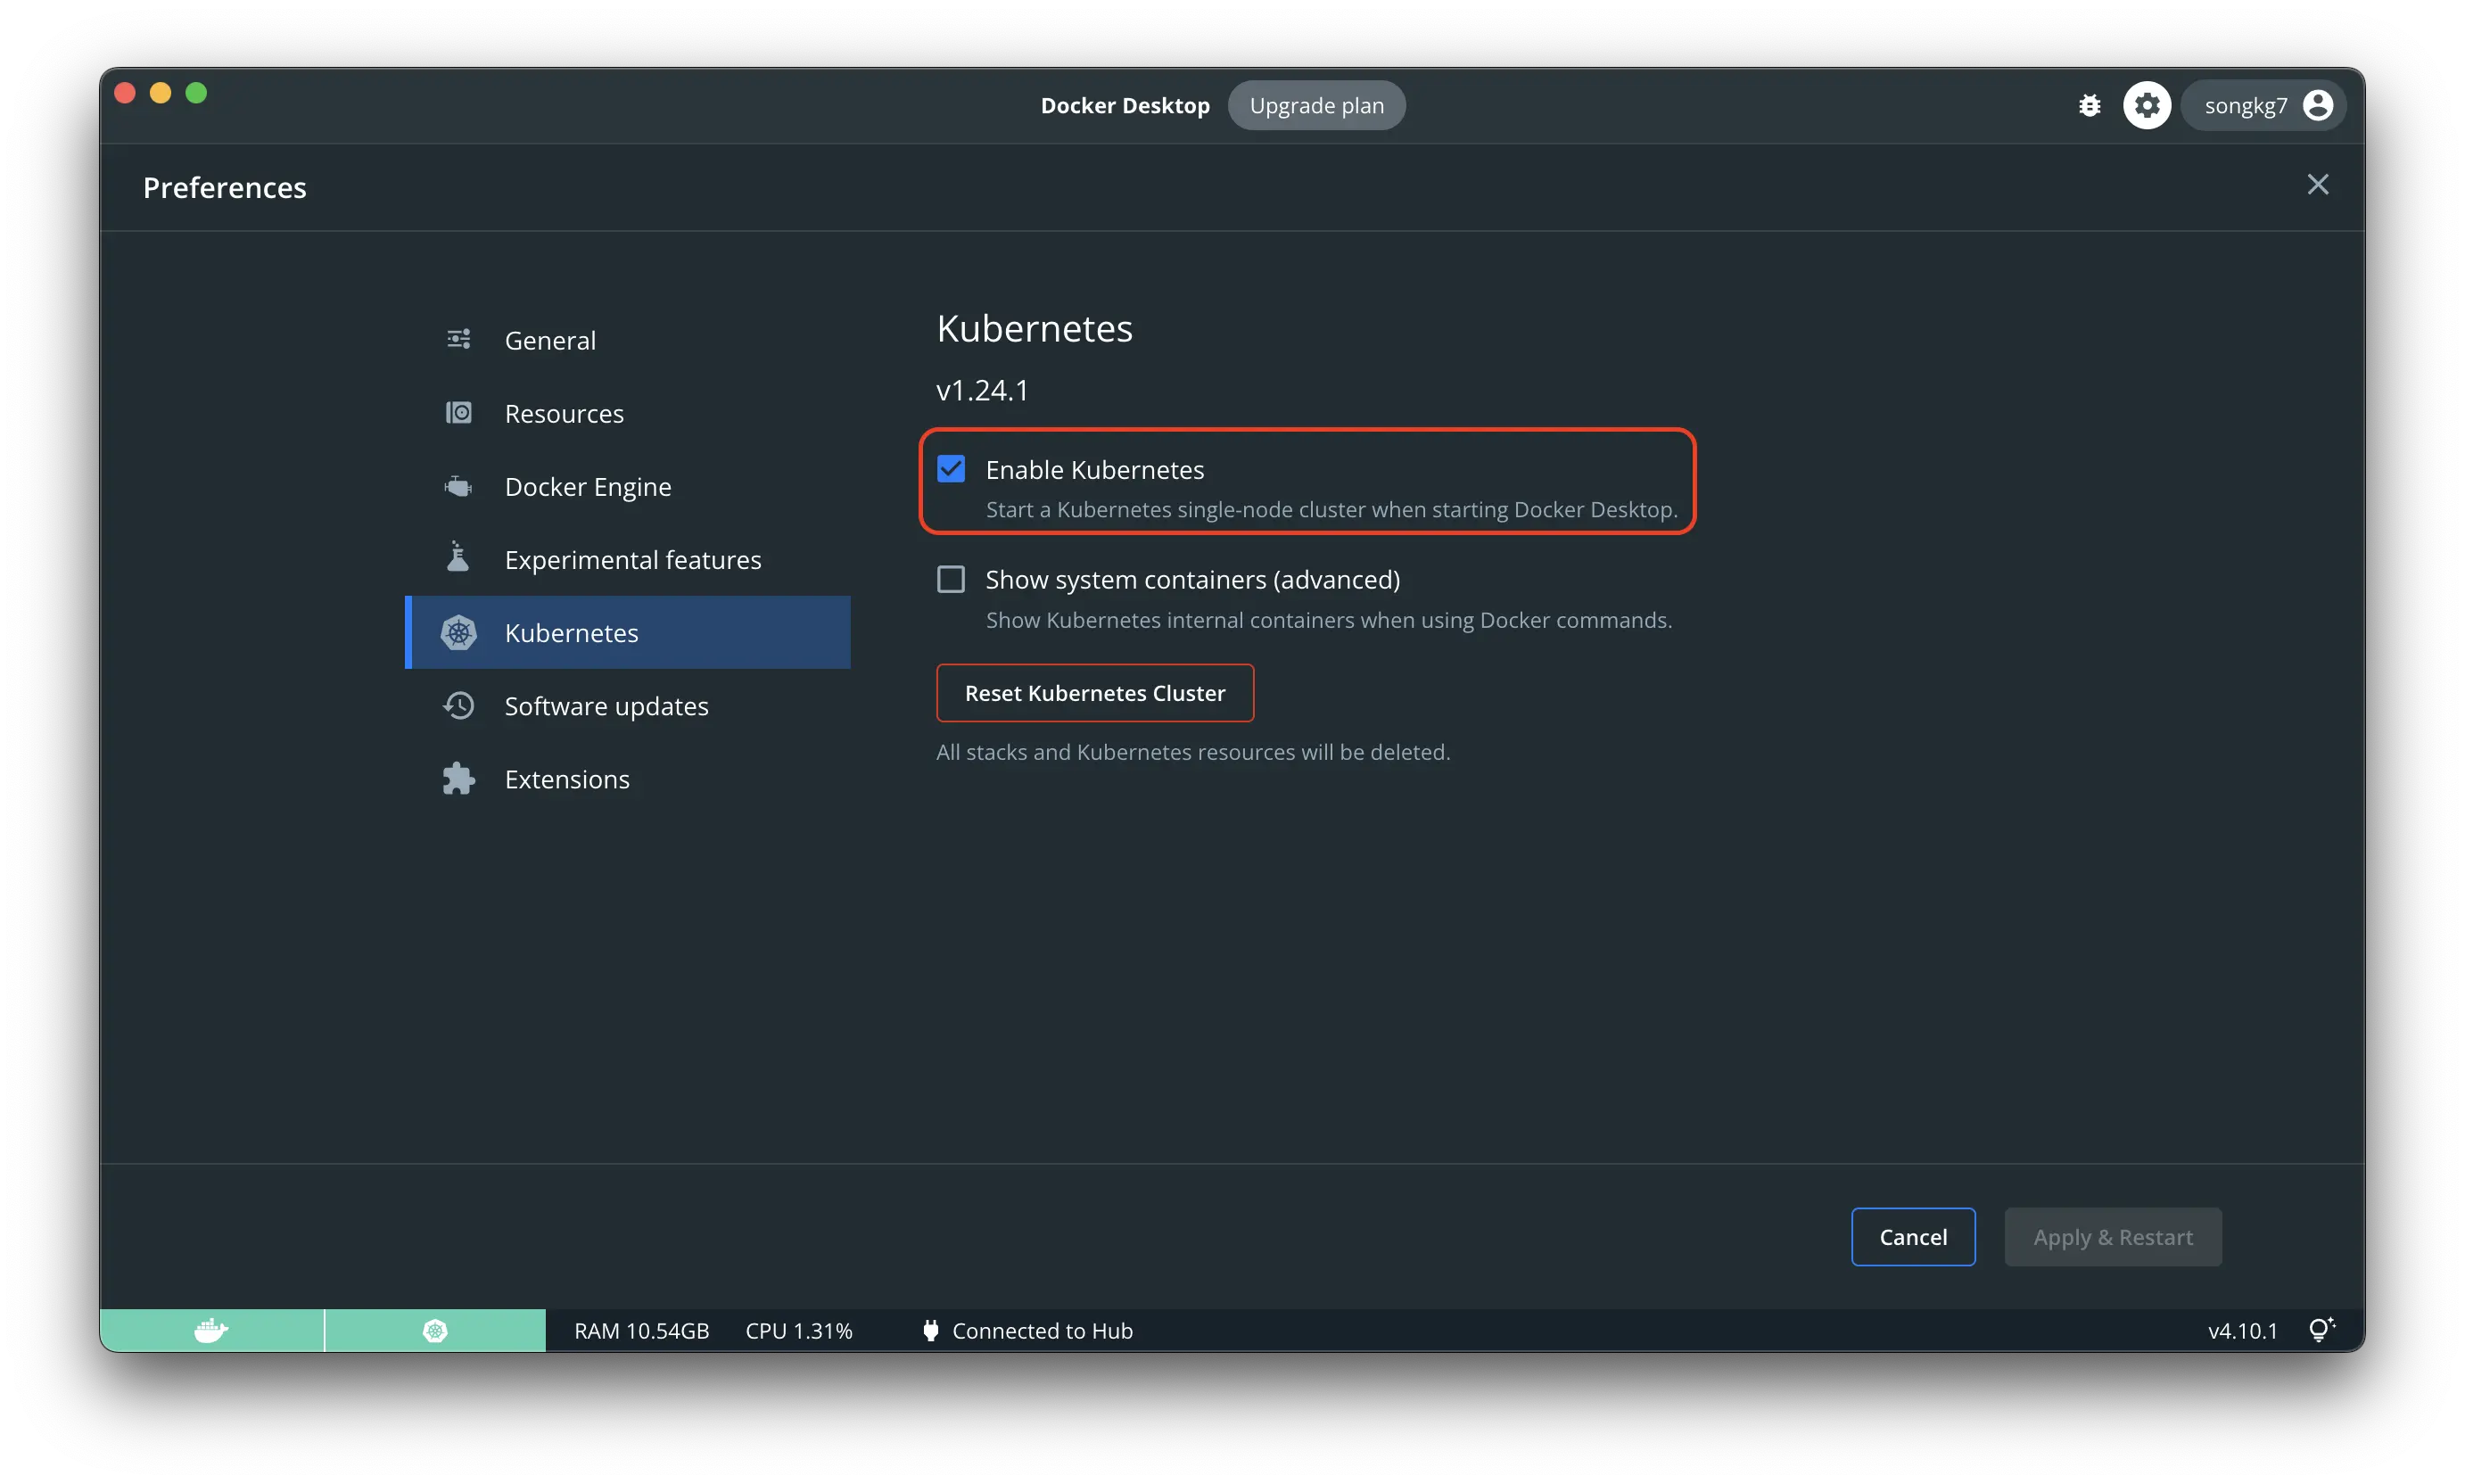
Docker Desktop
Install
Simply activate Kubernetes from the Docker Desktop menu.
Dashboard
The Kubernetes dashboard is not enabled by default. You can activate it using the following command:
kubectl apply -f https://raw.githubusercontent.com/kubernetes/dashboard/v2.5.0/aio/deploy/recommended.yaml
Starting the Dashboard
kubectl proxy
You can now access the dashboard via this link.
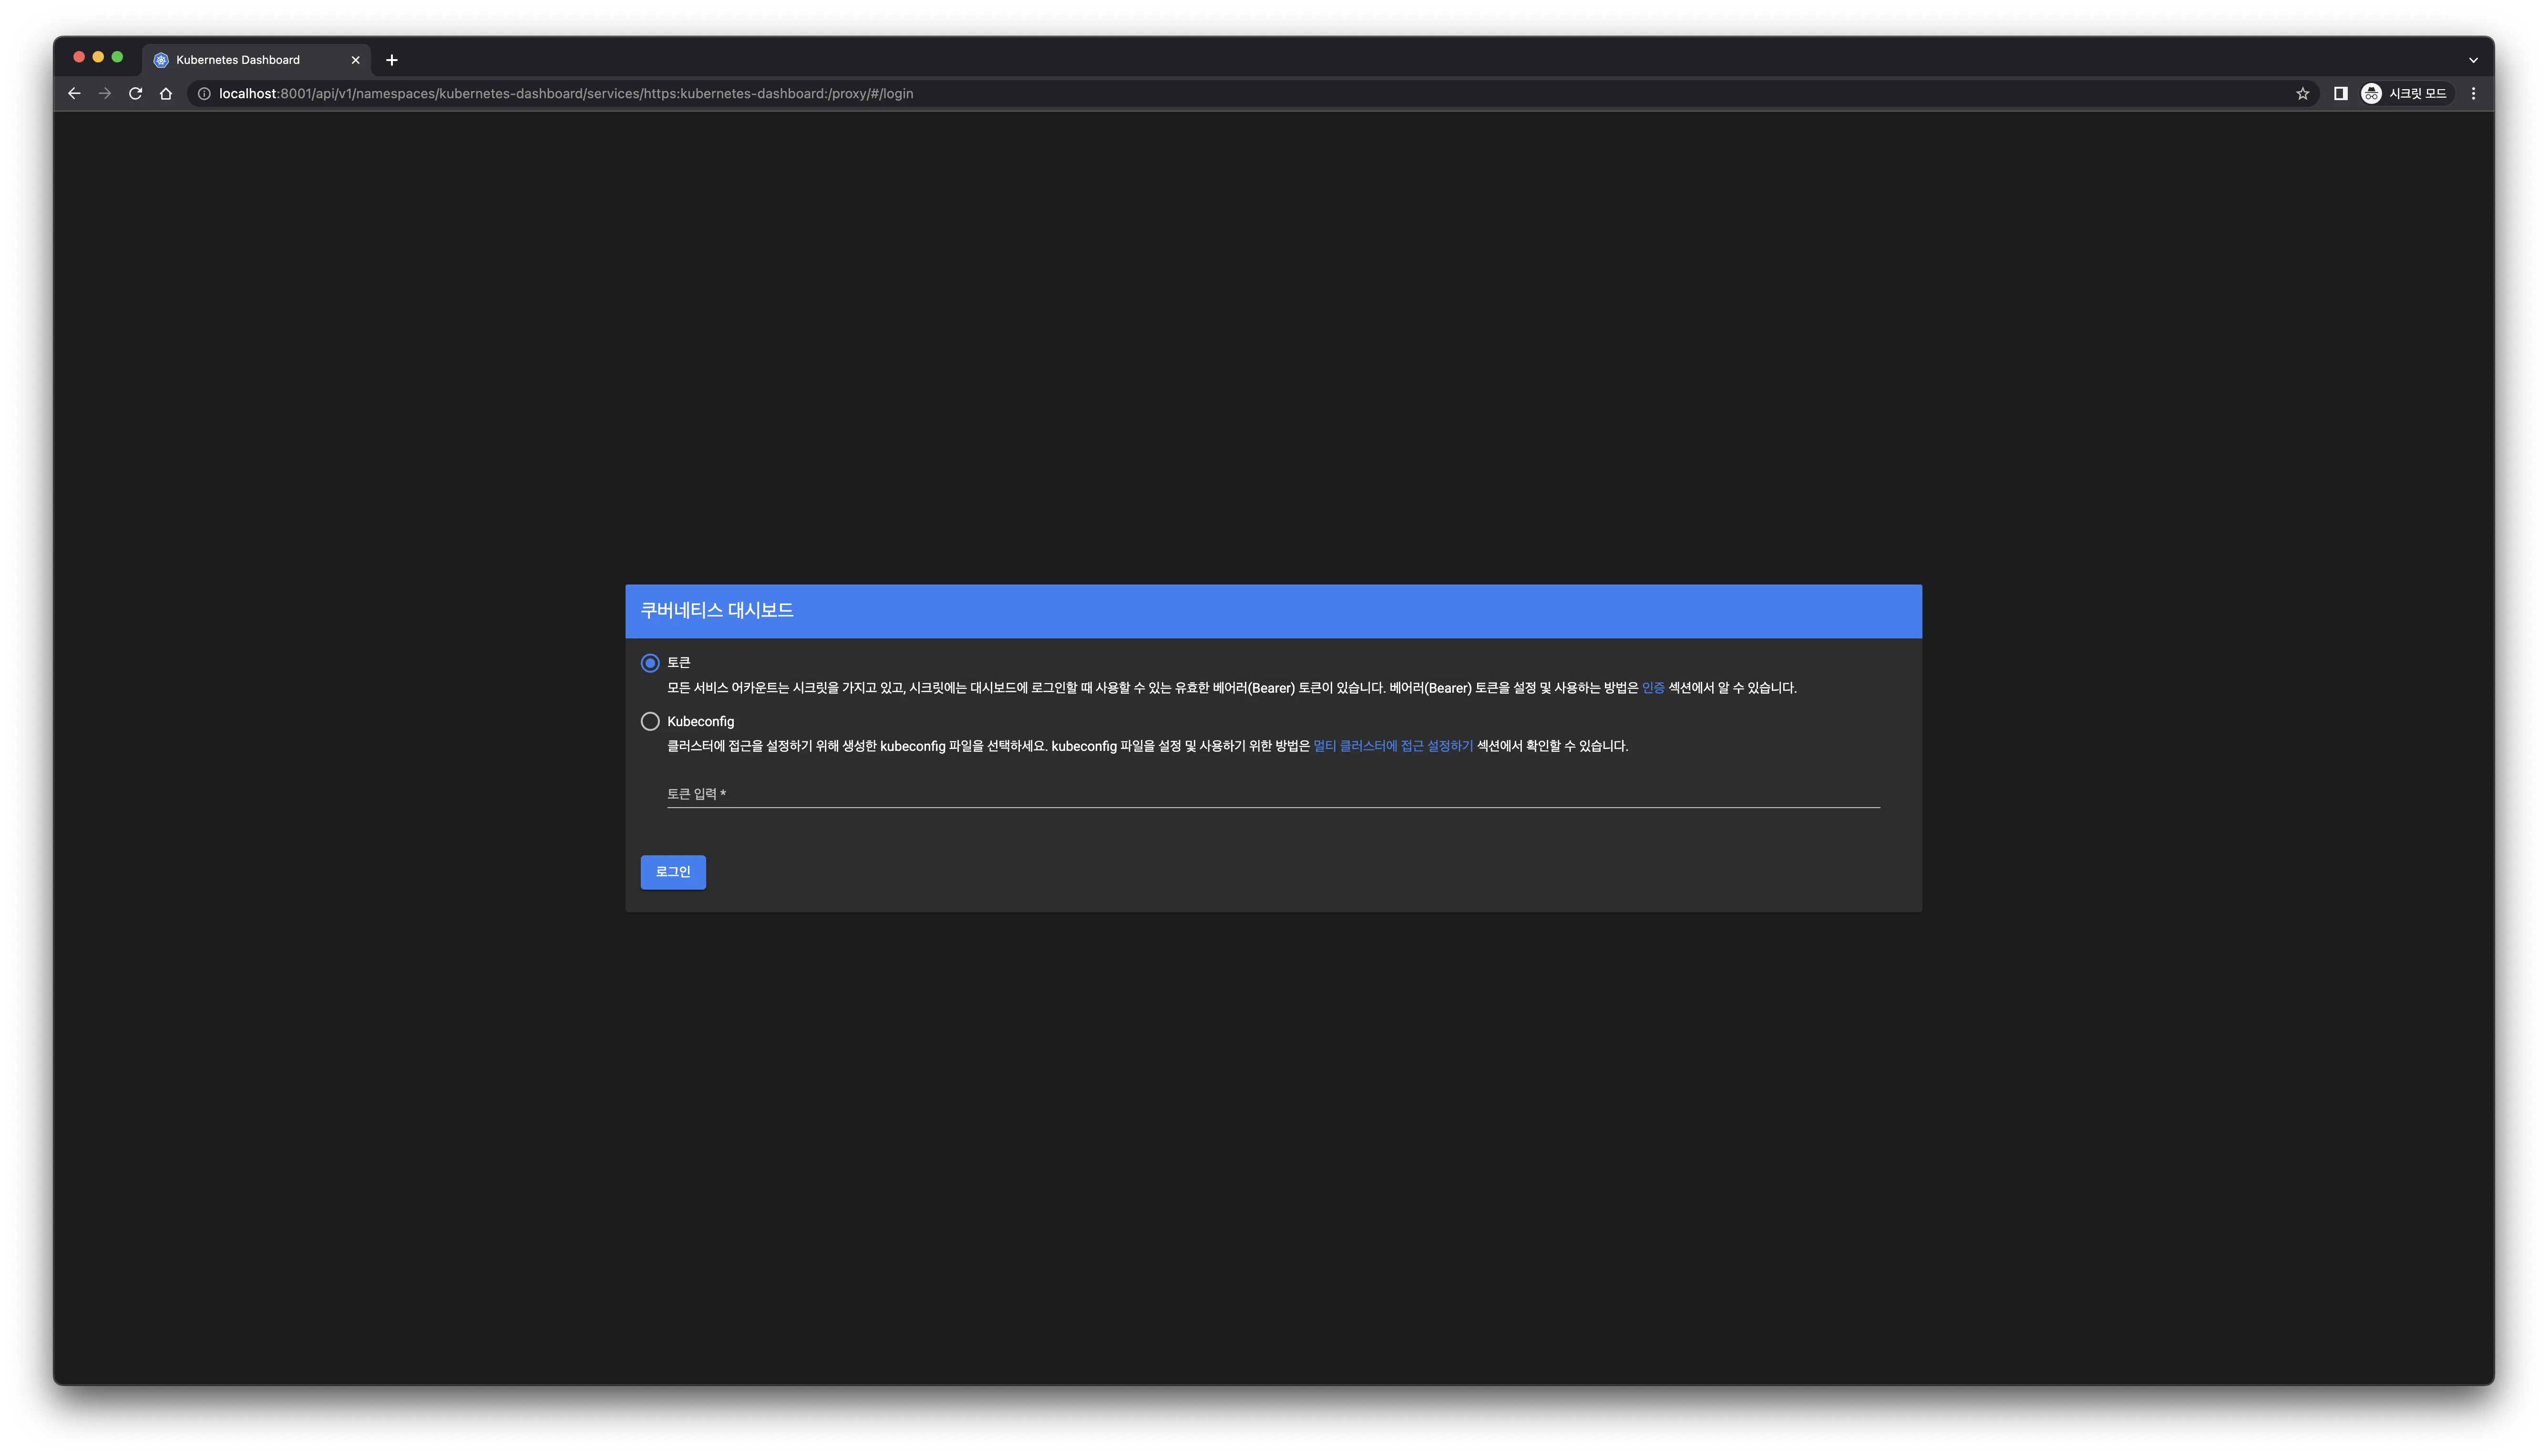
To log in, you will need a token. Let's see how to create one.
Secrets
First, create a kubernetes folder to store related files separately.
mkdir kubernetes && cd kubernetes
Granting admin privileges to the dashboard account can pose security risks, so be cautious when using it in actual operations.
dashboard-adminuser.yaml
apiVersion: v1
kind: ServiceAccount
metadata:
  name: admin-user
  namespace: kubernetes-dashboard
kubectl apply -f dashboard-adminuser.yaml
cluster-role-binding.yml
apiVersion: rbac.authorization.k8s.io/v1
kind: ClusterRoleBinding
metadata:
  name: admin-user
roleRef:
  apiGroup: rbac.authorization.k8s.io
  kind: ClusterRole
  name: cluster-admin
subjects:
- kind: ServiceAccount
  name: admin-user
  namespace: kubernetes-dashboard
kubectl apply -f cluster-role-binding.yaml
Create Token
kubectl -n kubernetes-dashboard create token admin-user
eyJhbGciOiJSUzI1NiIsImtpZCI6IjVjQjhWQVdpeWdLTlJYeXVKSUpxZndQUkoxdzU3eXFvM2dtMHJQZGY4TUkifQ.eyJhdWQiOlsiaHR0cHM6Ly9rdWJlcm5ldGVzLmRlZmF1bHQuc3ZjLmNsdXN0ZXIubG9jYWwiXSwiZXhwIjox7jU4NTA3NTY1LCJpYXQiOjE2NTg1MDM5NjUsImlzcyI6Imh0dHBzOi8va3ViZXJuZXRlcy5kZWZhdWx0LnN2Yy5jbHVzdGVyLmxvY2FsIiwia3ViZXJuZXRlcy5pbyI6eyJuYW4lc3BhY2UiOiJrdWJlcm5ldGVzLWRhc2hib2FyZCIsInNlcnZpY2VhY2NvdW55Ijp7Im5hbWUiOiJhZG1pbi11c2VyIiwidWlkIjoiZTRkODM5NjQtZWE2MC00ZWI0LTk1NDgtZjFjNWQ3YWM4ZGQ3In19LCJuYmYiOjE2NTg1MDM5NjUsInN1YiI6InN5c3RlbTpzZXJ2aWNlYWNjb3VudDprdWJlcm5ldGVzLWRhc2hib2FyZDphZG1pbi11c2VyIn1.RjoUaQnhTVKvzpAx_rToItI8HTZsr-6brMHWL63ca1_D4QIMCxU-zz7HFK04tCvOwyOTWw603XPDCv-ovjs1lM6A3tdgncqs8z1oTRamM4E-Sum8oi7cKnmVFSLjfLKqQxapBvZF5x-SxJ8Myla-izQxYkCtbWIlc6JfShxCSBJvfwSGW8c6kKdYdJv1QQdU1BfPY1sVz__cLNPA70_OpoosHevfVV86hsMvxCwVkNQHIpGlBX-NPog4nLY4gfuCMxKqjdVh8wLT7yS-E3sUJiXCcPJ2-BFSen4y-RIDbg18qbCtE3hQBr033Mfuly1Wc12UkU4bQeiF5SerODDn-g
Use the generated token to log in.
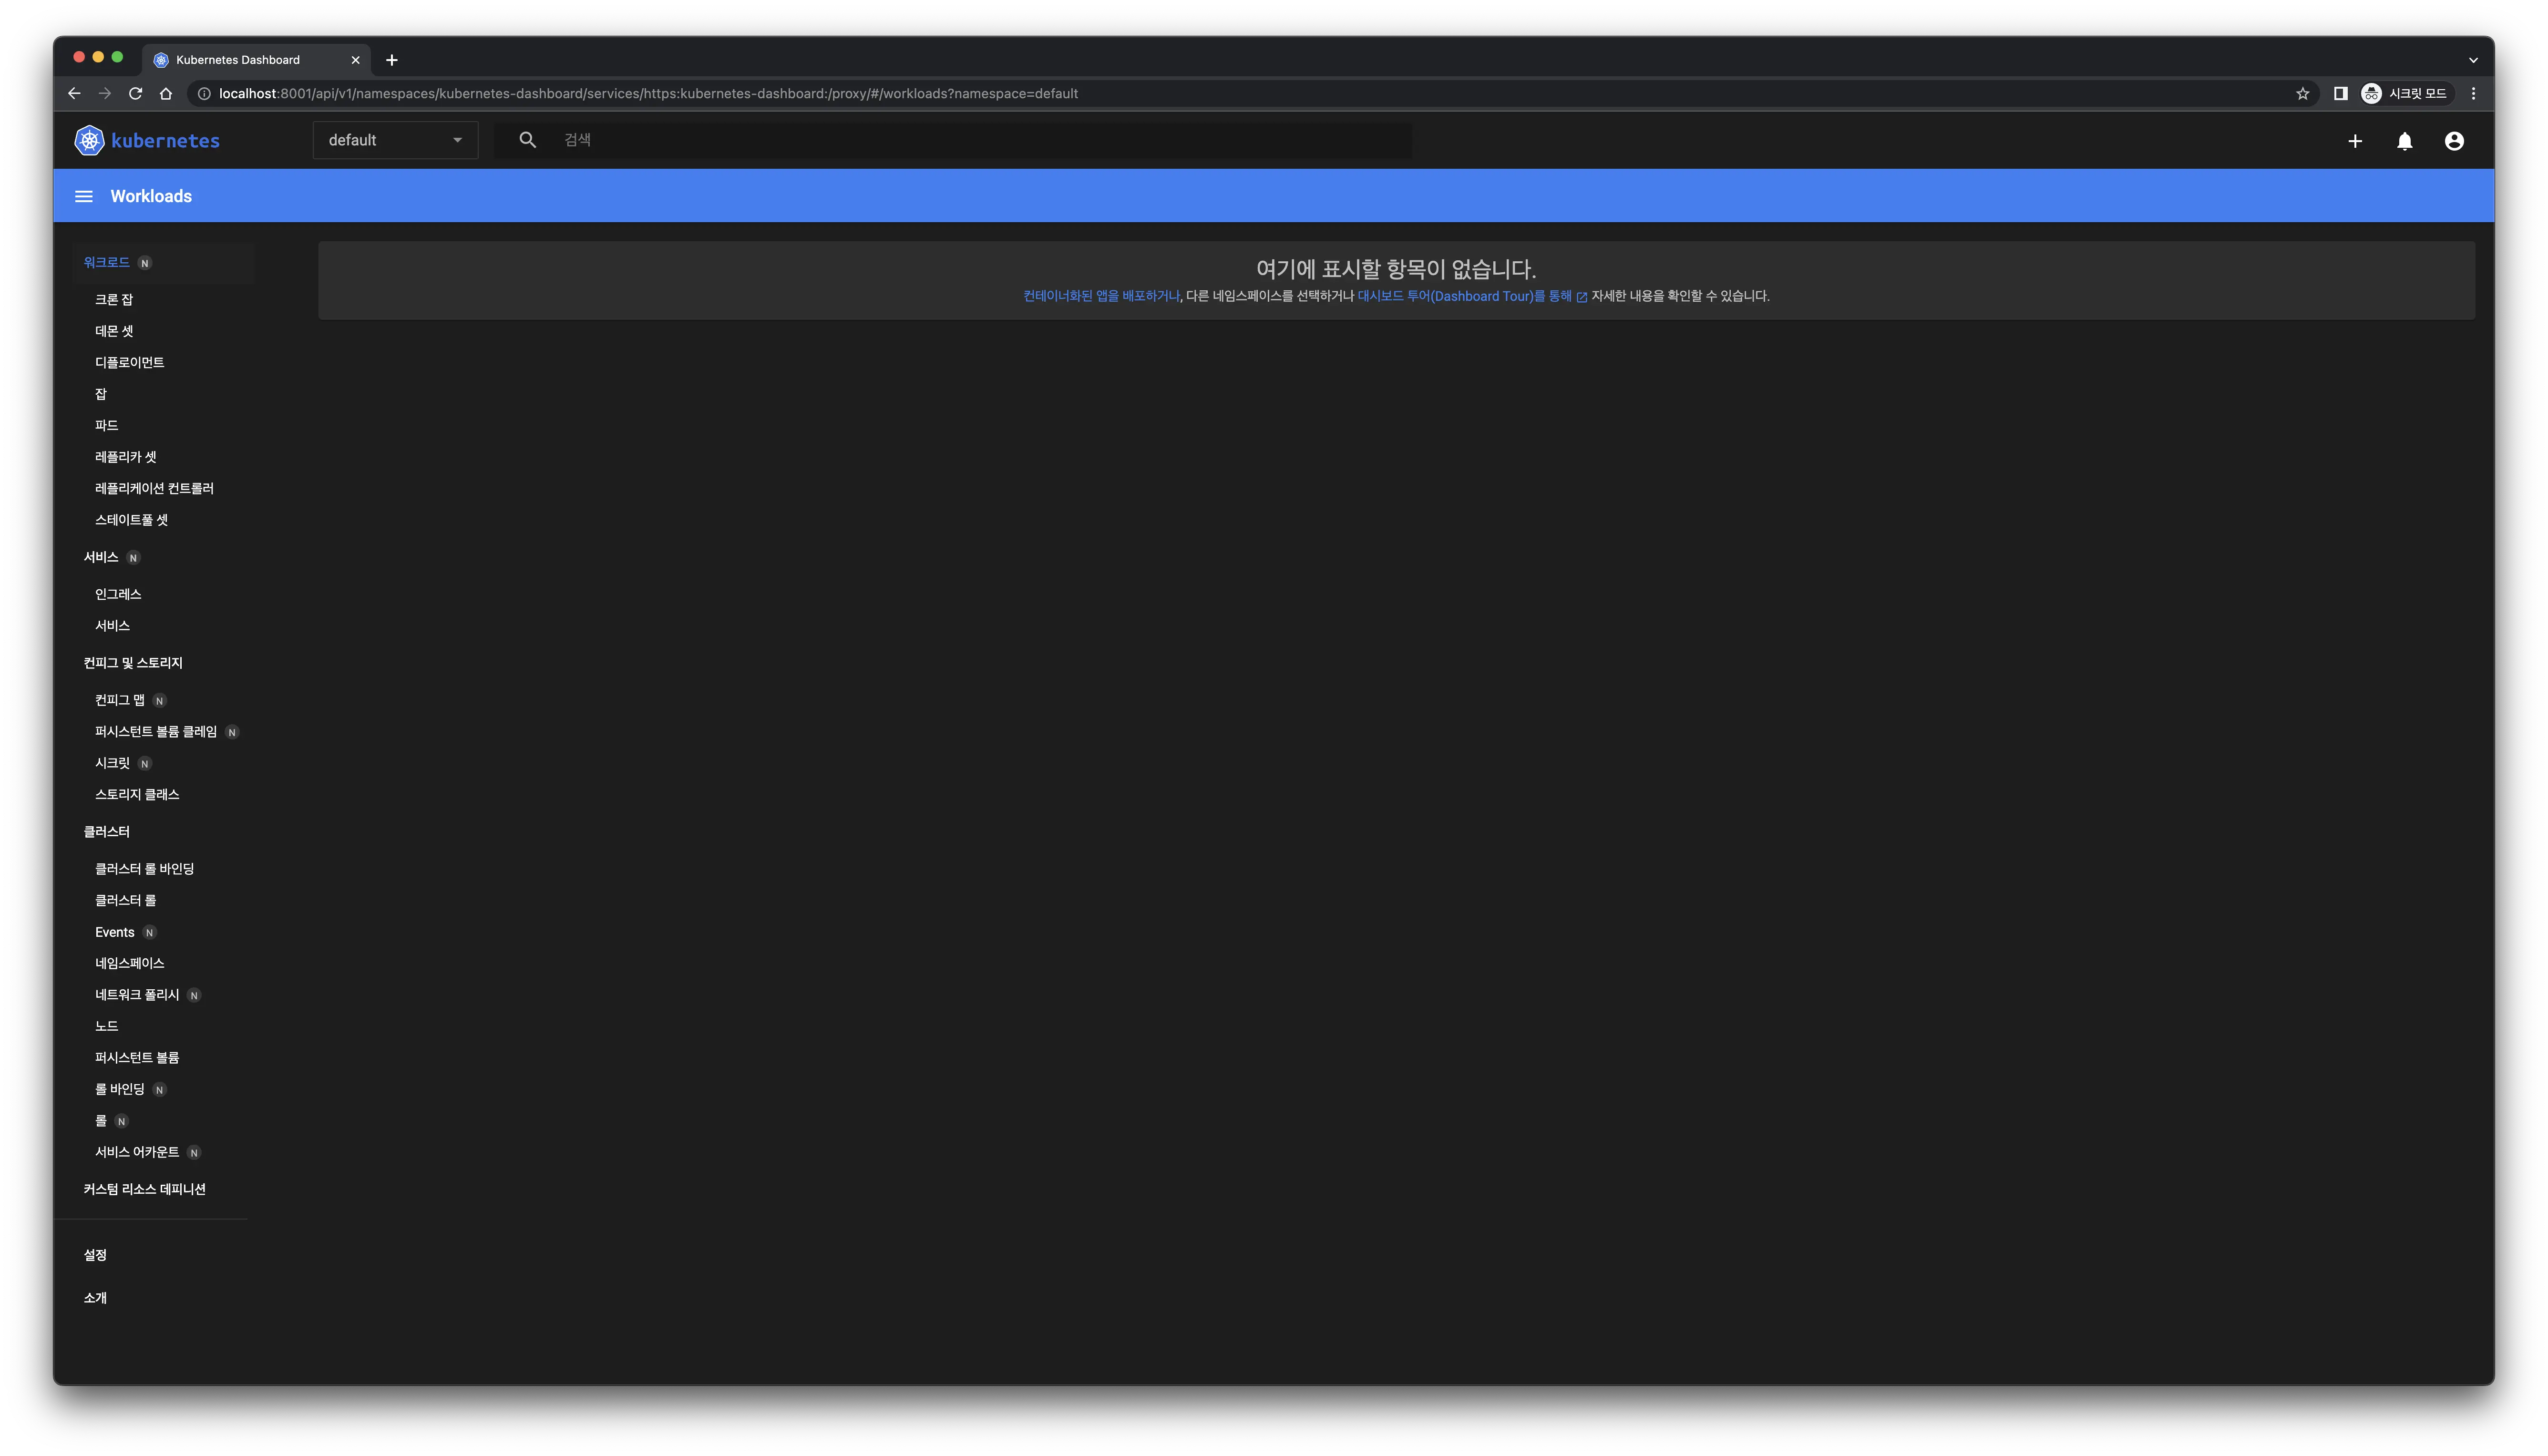 Successful access!
Creating a Deployment
Create a deployment using an image. For this article, a web server using golang has been prepared in advance.
kubectl create deployment rest-server --image=songkg7/rest-server
As soon as the command is executed successfully, you can easily monitor the changes on the dashboard.
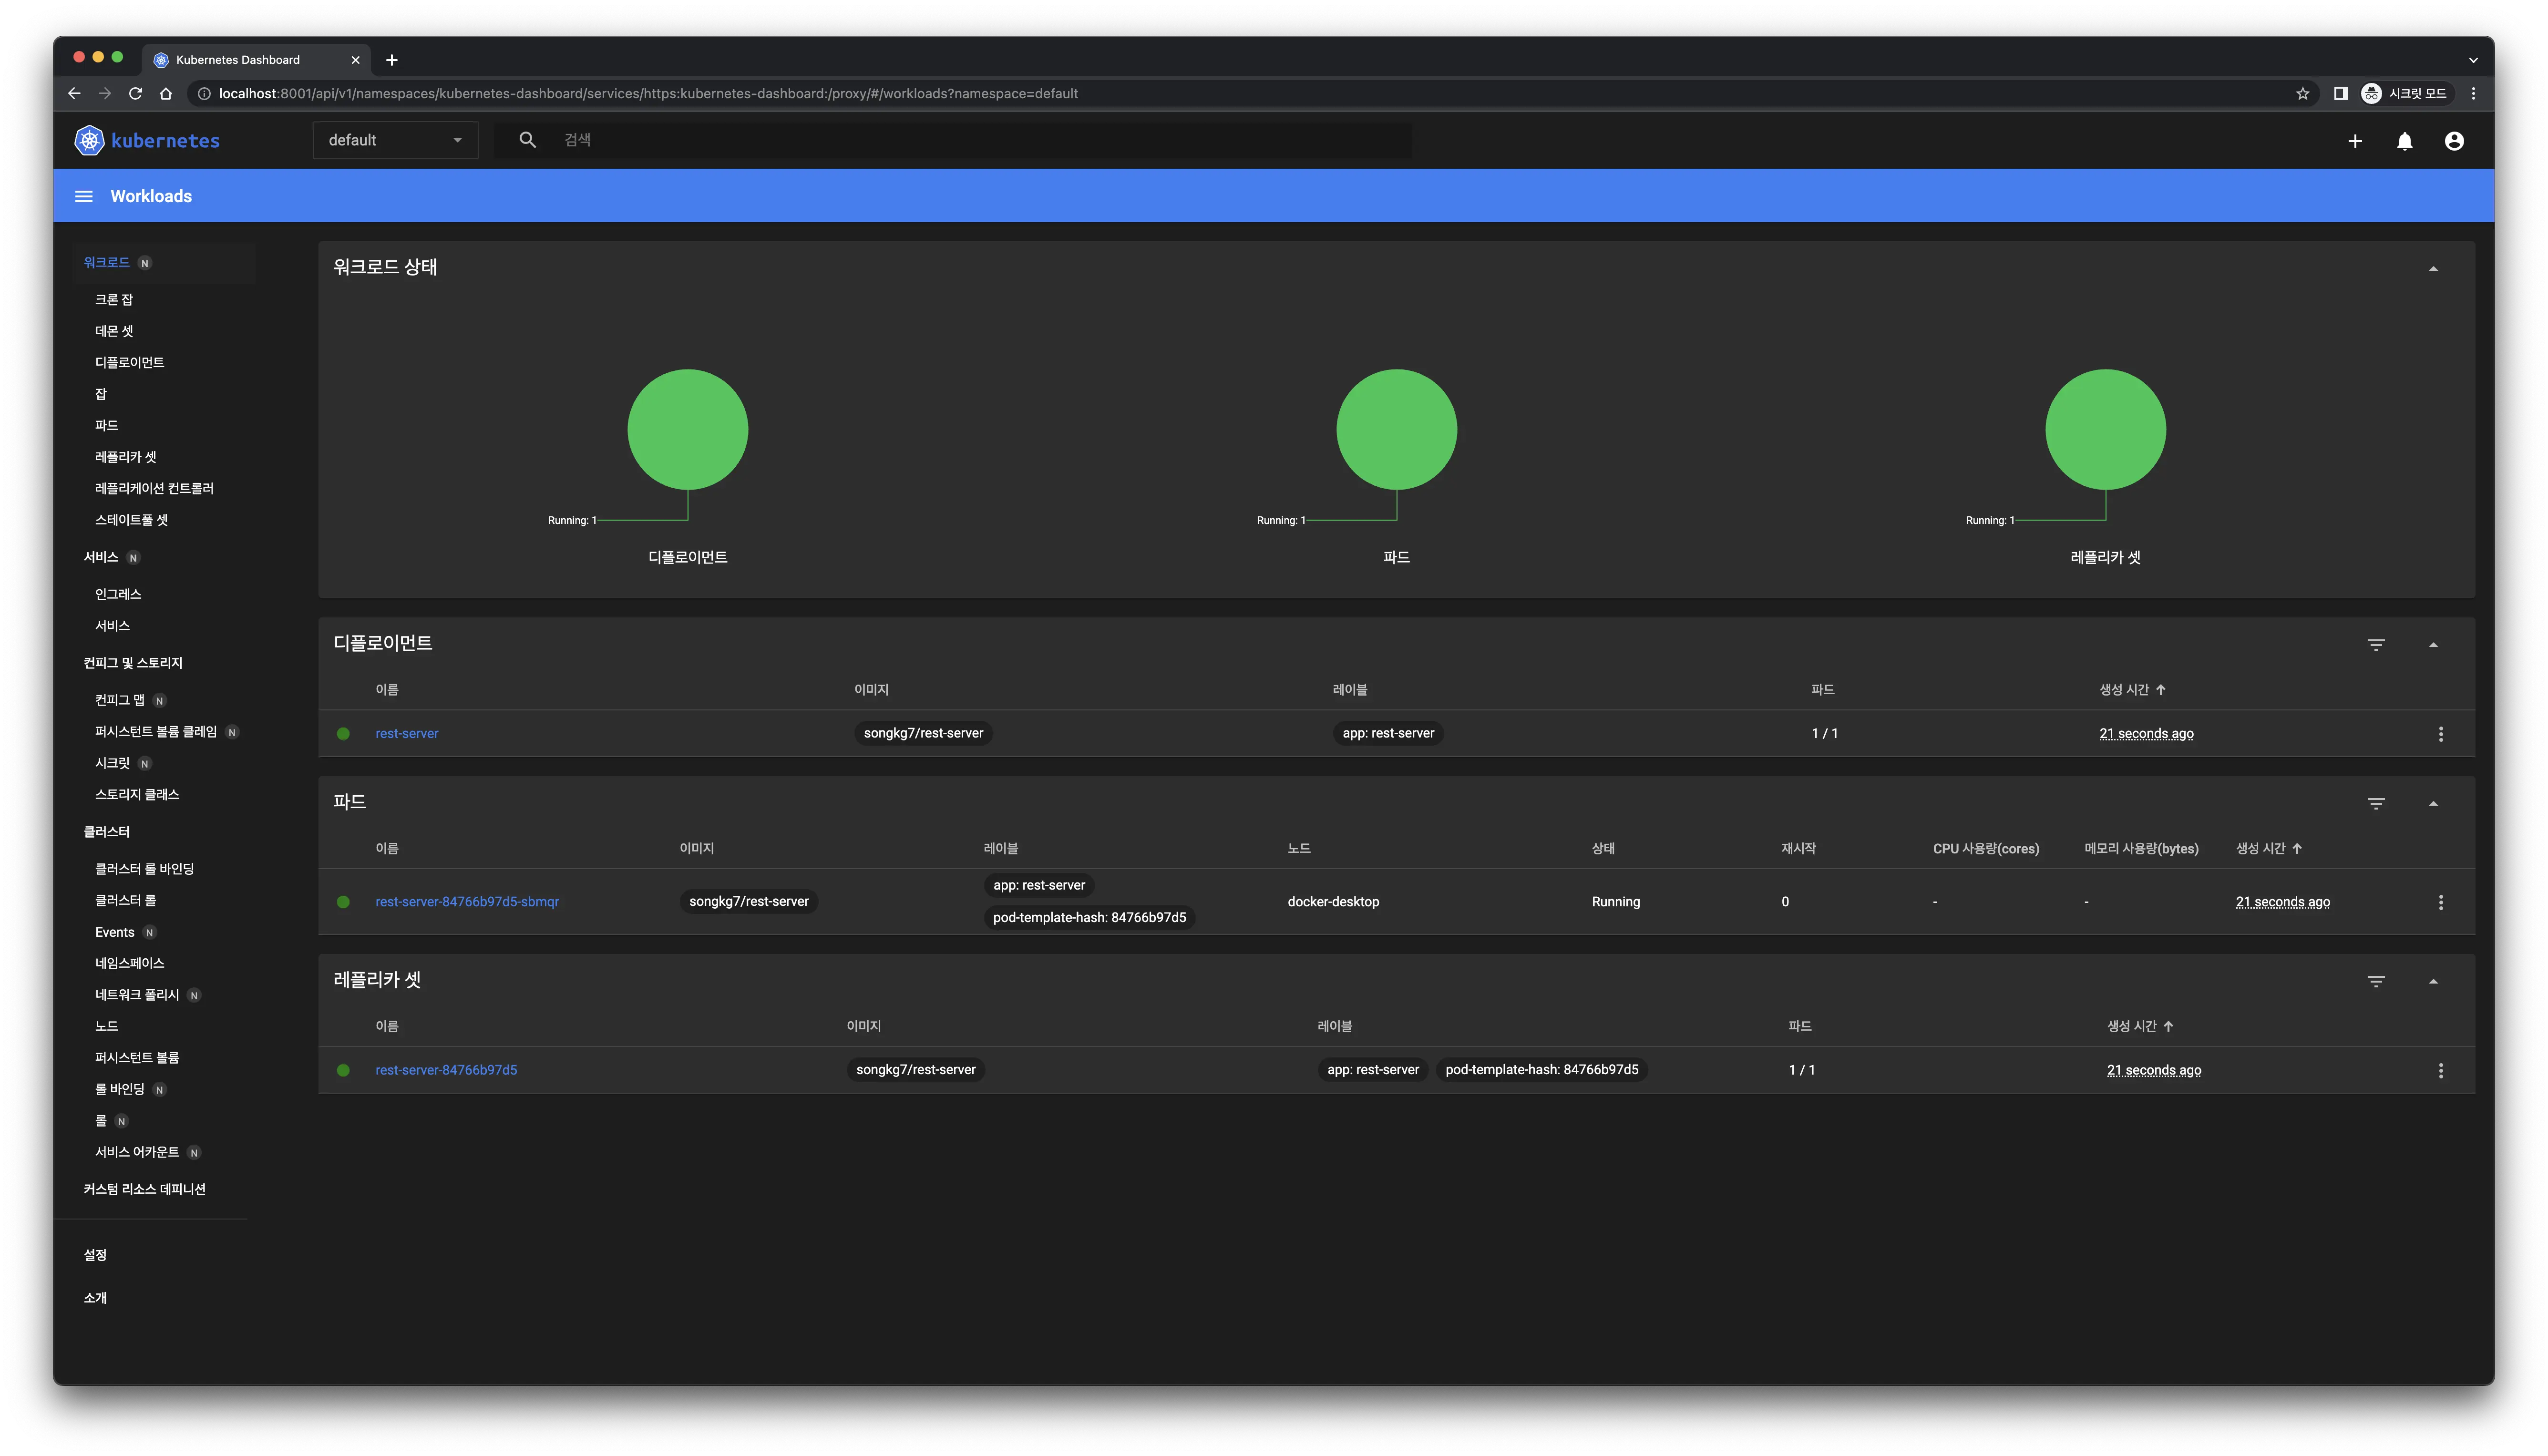 The dashboard updates immediately upon deployment creation.
However, let's also learn how to check this via the CLI (the root...!).
Checking Status
kubectl get deployments

When a deployment is created, pods are also generated simultaneously.
kubectl get pods -o wide

Having confirmed that everything is running smoothly, let's send a request to our web server. Instead of using curl, we will use httpie1. If you are more comfortable with curl, feel free to use it.
http localhost:8080/ping

Even though everything seems to be working fine, why can't we receive a response? 🤔
This is because our service is not exposed to the outside world yet. By default, Kubernetes pods can only communicate internally. Let's make our service accessible externally.
Exposing the Service
kubectl expose deployment rest-server --type=LoadBalancer --port=8080
Since our service uses port 8080, we open this port. Using a different port may result in connection issues.
Now, try sending the request again.
http localhost:8080/ping
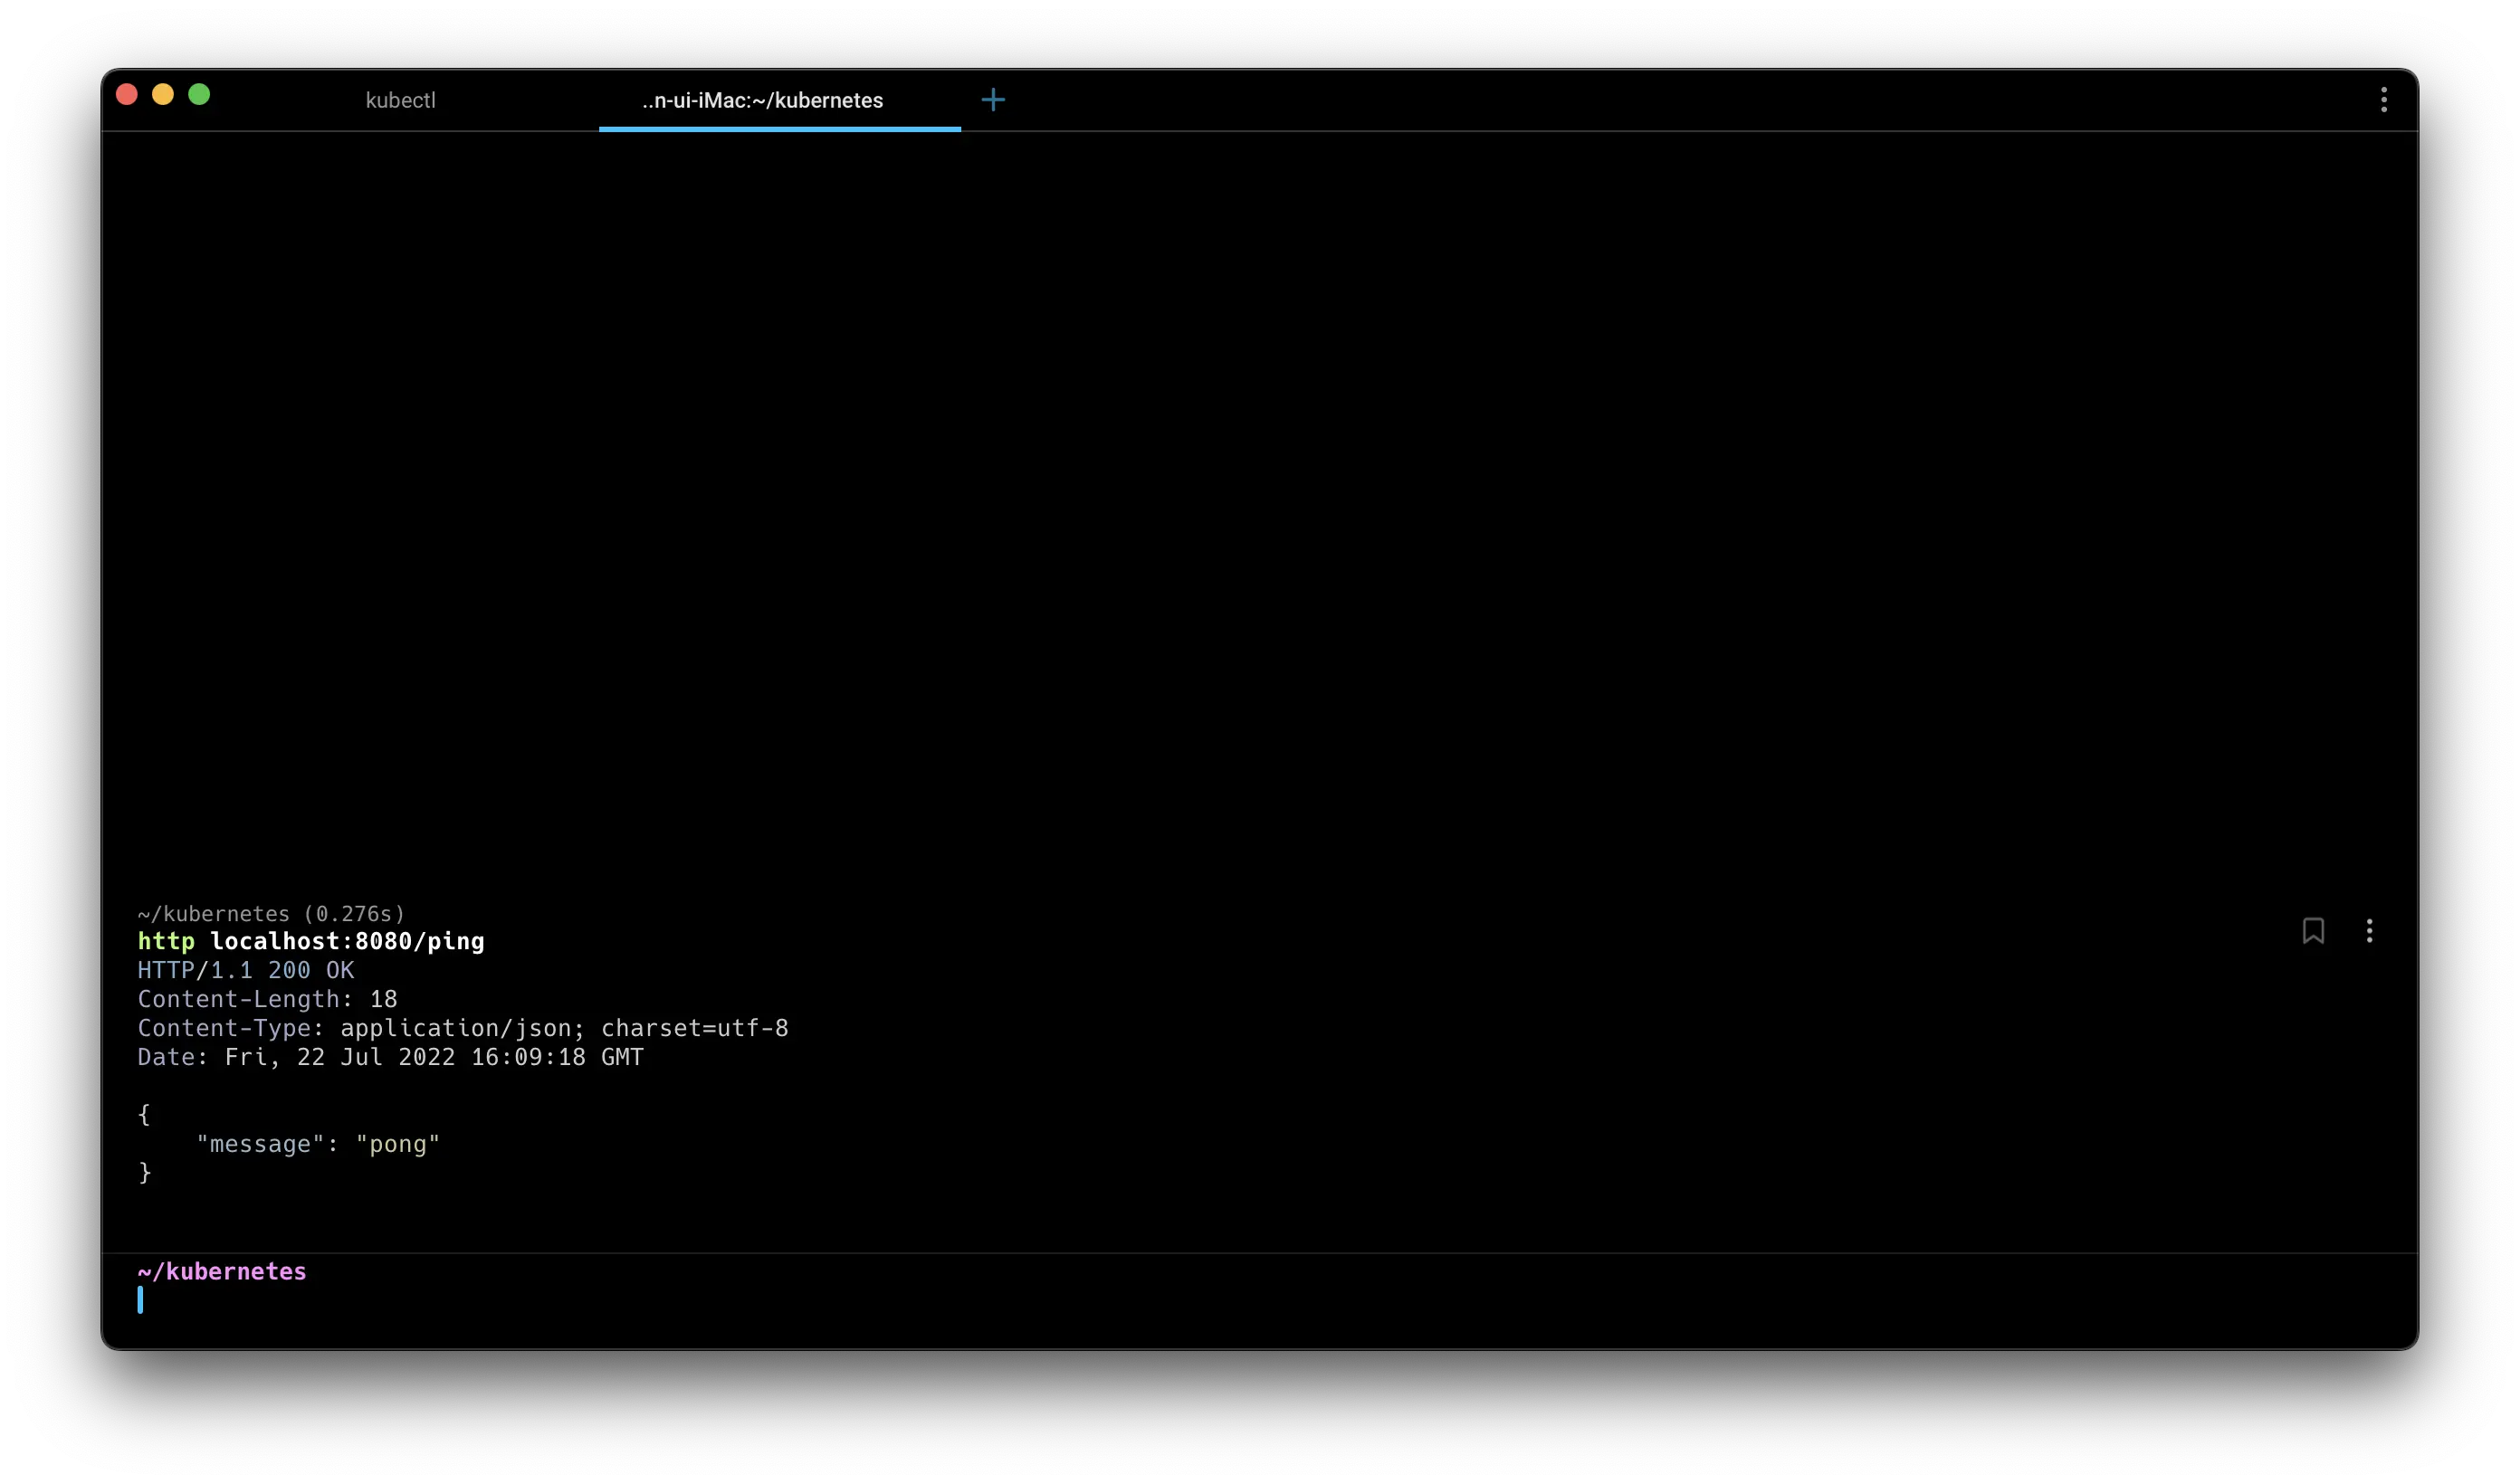
You can see that you receive a successful response.