
2 posts tagged with "url"

View All Tags

[System Design Interview] Implementing a URL Shortener from Scratch

· 5 min read

banner

info

You can check the code on GitHub.

Overview

Shortening URLs started to prevent URLs from being fragmented in email or SMS transmissions. However, nowadays, it is more actively used for sharing specific links on social media platforms like Twitter or Instagram. It improves readability by not looking verbose and can also provide additional features such as collecting user statistics before redirecting to the URL.

In this article, we will implement a URL shortener from scratch and explore how it works.

What is a URL Shortener?

Let's first take a look at the result.

You can run the URL shortener we will implement in this article directly with the following command:

docker run -d -p 8080:8080 songkg7/url-shortener

Here is how to use it. Simply input the long URL you want to shorten as the value of longUrl.

curl -X POST --location "http://localhost:8080/api/v1/shorten" \
-H "Content-Type: application/json" \
-d "{
\"longUrl\": \"https://www.google.com/search?q=url+shortener&sourceid=chrome&ie=UTF-8\"
}"
# You will receive a random value like tN47tML.

Now, if you access http://localhost:8080/tN47tML in your web browser,

image

You will see that it correctly redirects to the original URL.
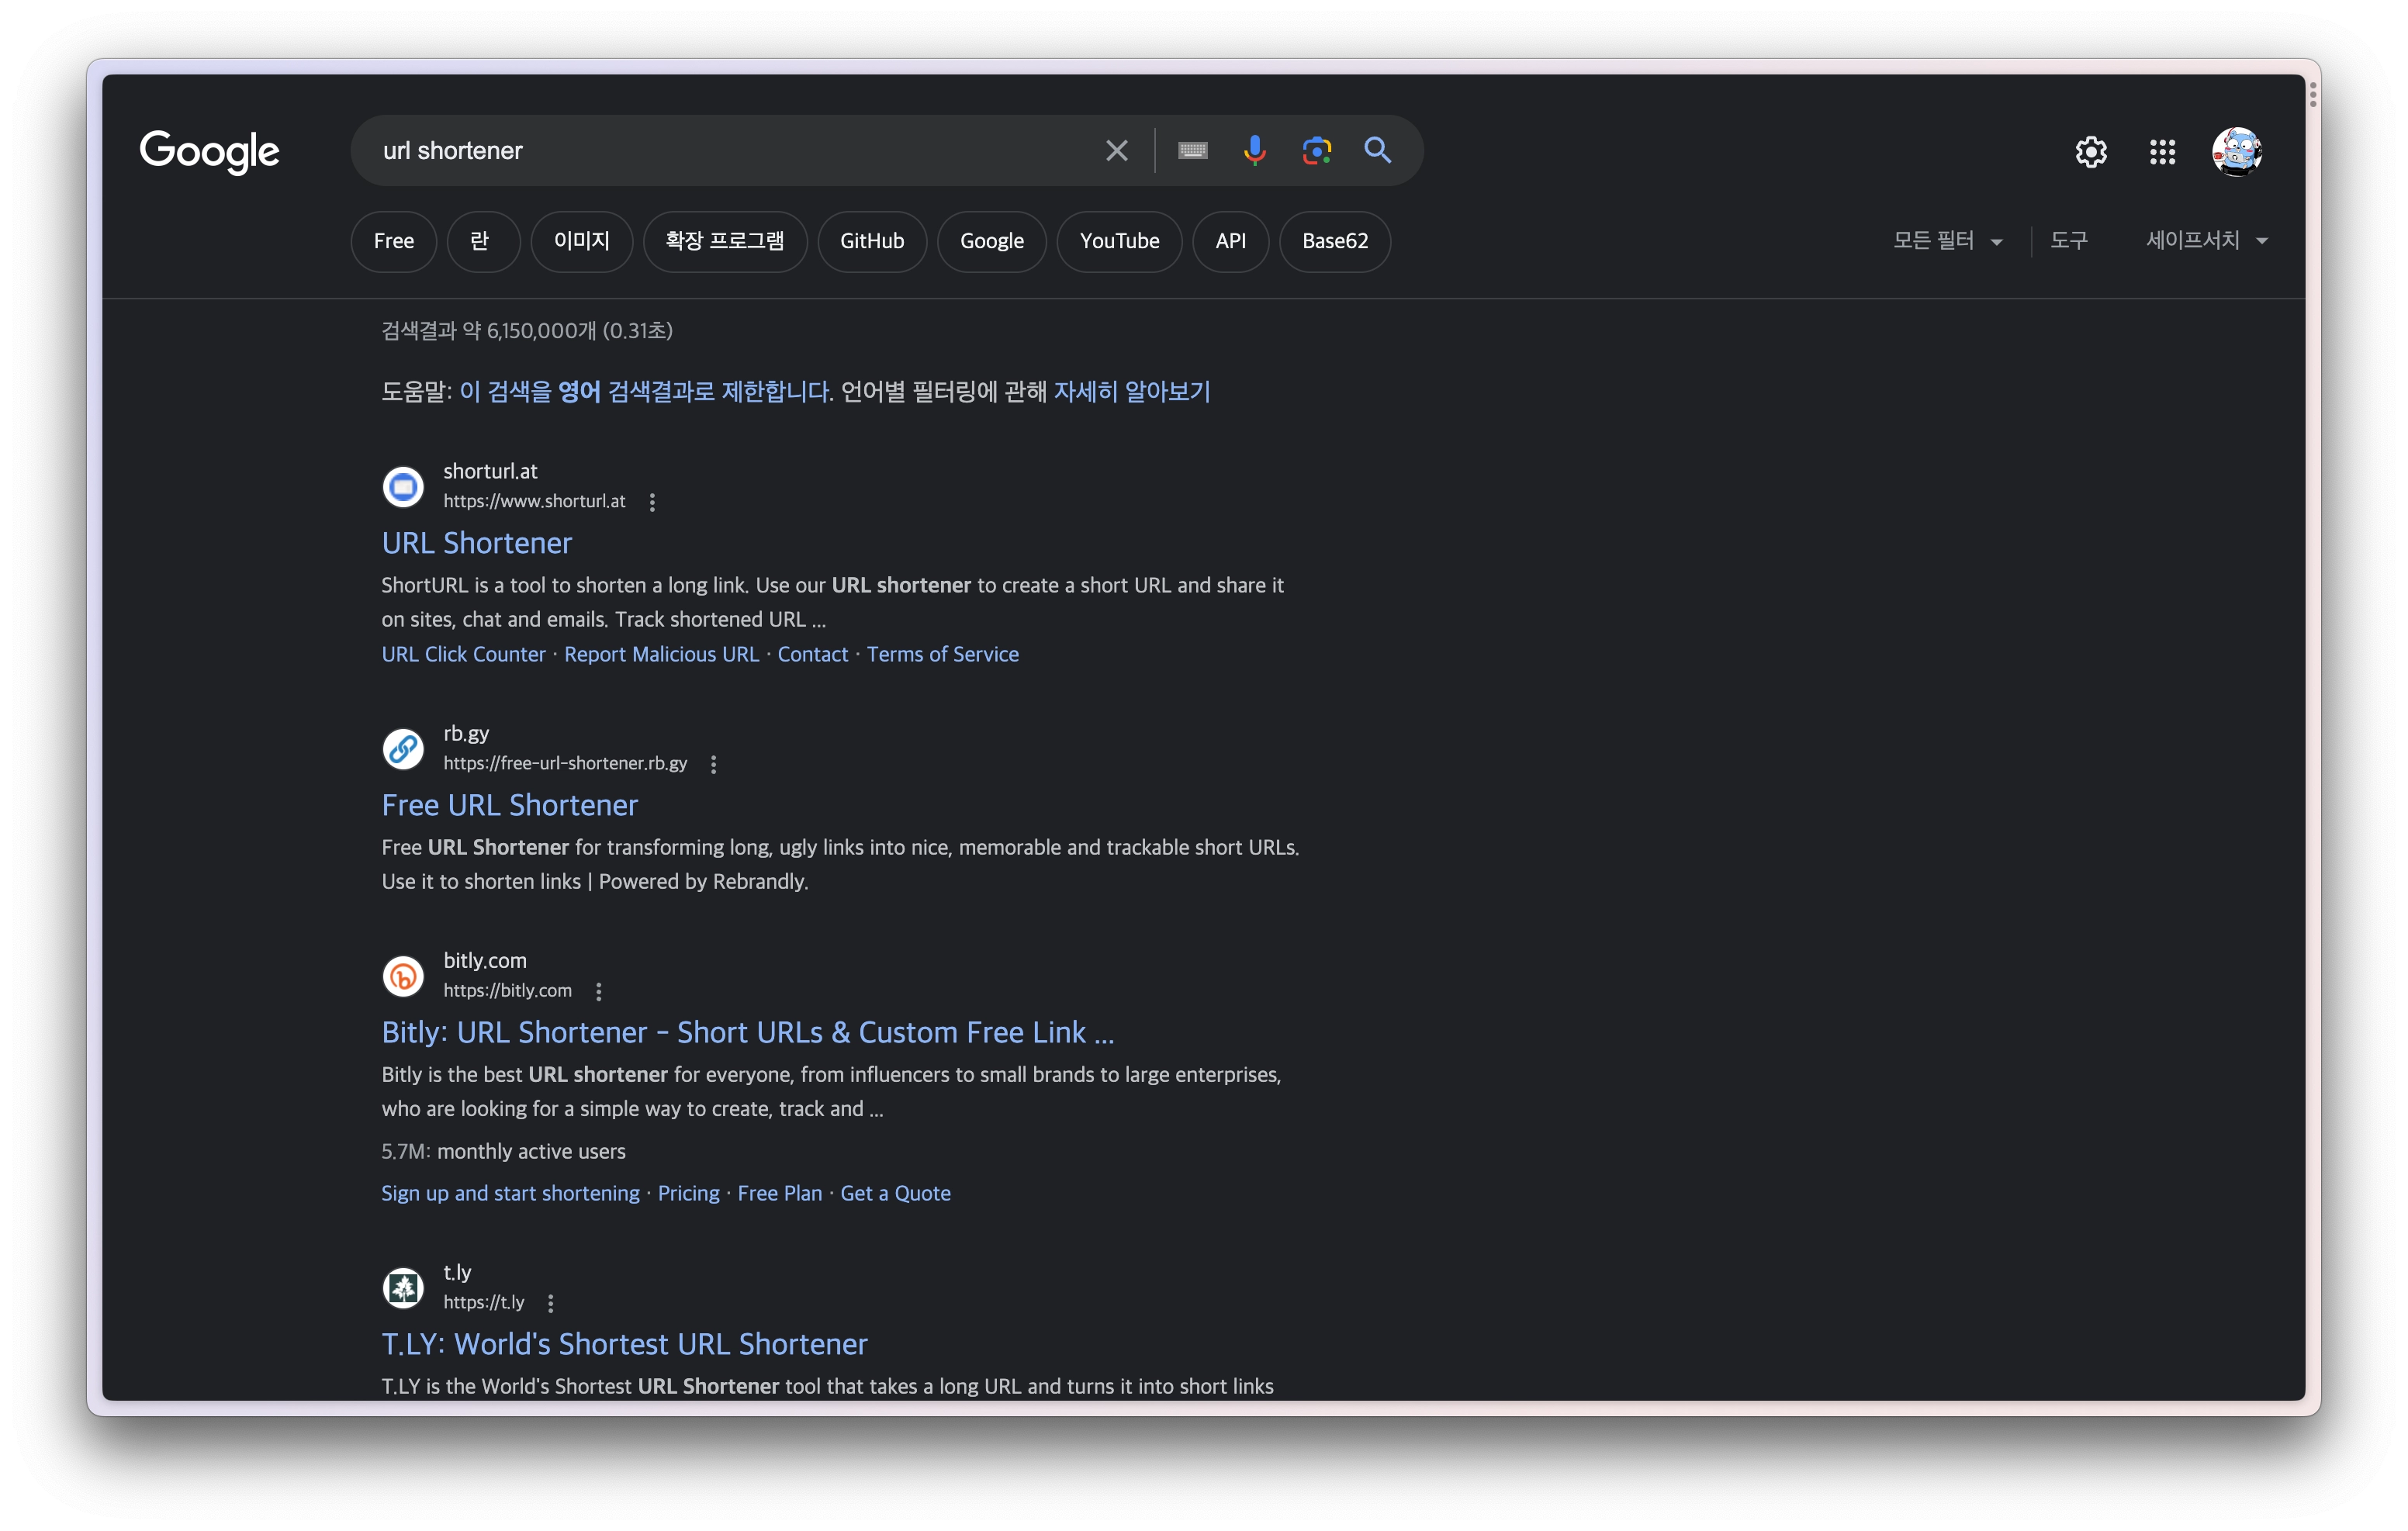
Before Shortening

After Shortening

Now, let's see how we can shorten URLs.

Rough Design

Shortening URLs

  1. Generate an ID before storing the longUrl.
  2. Encode the ID to base62 to create the shortUrl.
  3. Store the ID, shortUrl, and longUrl in the database.

Memory is finite and relatively expensive. RDB can be quickly queried through indexes and is relatively cheaper compared to memory, so we will use RDB to manage URLs.

To manage URLs, we first need to secure an ID generation strategy. There are various methods for ID generation, but it may be too lengthy to cover here, so we will skip it. I will simply use the current timestamp for ID generation.

Base62 Conversion

By using ULID, you can generate a unique ID that includes a timestamp.

val id: Long = Ulid.fast().time // e.g., 3145144998701, used as a primary key

Converting this number to base62, we get the following string.

tN47tML

This string is stored in the database as the shortUrl.

idshortlong
3145144998701tN47tMLhttps://www.google.com/search?q=url+shortener&sourceid=chrome&ie=UTF-8

The retrieval process will proceed as follows:

  1. A GET request is made to localhost:8080/tN47tML.
  2. Decode tN47tML from base62.
  3. Obtain the primary key 3145144998701 and query the database.
  4. Redirect the request to the longUrl.

Now that we have briefly looked at it, let's implement it and delve into more details.

Implementation

Just like the previous article on Consistent Hashing, we will implement it ourselves. Fortunately, implementing a URL shortener is not that difficult.

Model

First, we implement the model to receive requests from users. We simplified the structure to only receive the URL to be shortened.

data class ShortenRequest(
val longUrl: String
)

We implement a Controller to handle POST requests.

@PostMapping("/api/v1/shorten")
fun shorten(@RequestBody request: ShortenRequest): ResponseEntity<ShortenResponse> {
val url = urlShortenService.shorten(request.longUrl)
return ResponseEntity.ok(ShortenResponse(url))
}

Base62 Conversion

Finally, the most crucial part. After generating an ID, we encode it to base62 to shorten it. This shortened string becomes the shortUrl. Conversely, we decode the shortUrl to find the ID and use it to query the database to retrieve the longUrl.

private const val BASE62 = "0123456789abcdefghijklmnopqrstuvwxyzABCDEFGHIJKLMNOPQRSTUVWXYZ"

class Base62Conversion : Conversion {
override fun encode(input: Long): String {
val sb = StringBuilder()
var num = BigInteger.valueOf(input)
while (num > BigInteger.ZERO) {
val remainder = num % BigInteger.valueOf(62)
sb.append(BASE62[remainder.toInt()])
num /= BigInteger.valueOf(62)
}
return sb.reverse().toString()
}

override fun decode(input: String): Long {
var num = BigInteger.ZERO
for (c in input) {
num *= BigInteger.valueOf(62)
num += BigInteger.valueOf(BASE62.indexOf(c).toLong())
}
return num.toLong()

}
}

The length of the shortened URL is inversely proportional to the size of the ID number. The smaller the generated ID number, the shorter the URL can be made.

If you want the length of the shortened URL to not exceed 8 characters, you should ensure that the size of the ID does not exceed 62^8. Therefore, how you generate the ID is also crucial. As mentioned earlier, to simplify the content in this article, we handled this part using a timestamp value.

Test

Let's send a POST request with curl to shorten a random URL.

curl -X POST --location "http://localhost:8080/api/v1/shorten" \
-H "Content-Type: application/json" \
-d "{
\"longUrl\": \"https://www.google.com/search?q=url+shortener&sourceid=chrome&ie=UTF-8\"
}"

You can confirm that it correctly redirects by accessing http://localhost:8080/{shortUrl}.

Conclusion

Here are some areas for improvement:

  • By controlling the ID generation strategy more precisely, you can further shorten the shortUrl.
    • If there is heavy traffic, you must consider issues related to concurrency.
    • Snowflake
  • Using DNS for the host part can further shorten the URL.
  • Applying cache to the Persistence Layer can achieve faster responses.

Using Date Type as URL Parameter in WebFlux

· 4 min read

Overview

When using time formats like LocalDateTime as URL parameters, if they do not match the default format, you may encounter an error message like the following:

Exception: Failed to convert value of type 'java.lang.String' to required type 'java.time.LocalDateTime';

What settings do you need to make to allow conversion for specific formats? This article explores the conversion methods.

Contents

Let's create a simple sample example.

public record Event(
String name,
LocalDateTime time
) {
}

This is a simple object that contains the name and occurrence time of an event, created using record.

@RestController
public class EventController {

@GetMapping("/event")
public Mono<Event> helloEvent(Event event) {
return Mono.just(event);
}

}

The handler is created using the traditional Controller model.

tip

In Spring WebFlux, you can manage requests using Router functions, but this article focuses on using @RestController as it is not about WebFlux.

Let's write a test code.

@WebFluxTest
class EventControllerTest {

@Autowired
private WebTestClient webTestClient;

@Test
void helloEvent() {
webTestClient.get().uri("/event?name=Spring&time=2021-08-01T12:00:00")
.exchange()
.expectStatus().isOk()
.expectBody()
.jsonPath("$.name").isEqualTo("Spring")
.jsonPath("$.time").isEqualTo("2021-08-01T12:00:00");
}

}

image1

When running the test code, it simulates the following request.

$ http localhost:8080/event Accept=application/stream+json name==Spring time==2021-08-01T12:00
HTTP/1.1 200 OK
Content-Length: 44
Content-Type: application/stream+json

{
"name": "Spring",
"time": "2021-08-01T12:00:00"
}

If the request is made in the default format, a successful response is received. But what if the request format is changed?

image2

image3

$ http localhost:8080/event Accept=application/stream+json name==Spring time==2021-08-01T12:00:00Z
HTTP/1.1 500 Internal Server Error
Content-Length: 131
Content-Type: application/stream+json

{
"error": "Internal Server Error",
"path": "/event",
"requestId": "ecc1792e-3",
"status": 500,
"timestamp": "2022-11-28T10:04:52.784+00:00"
}

As seen above, additional settings are required to receive responses in specific formats.

1. @DateTimeFormat

The simplest solution is to add an annotation to the field you want to convert. By defining the format you want to convert to, you can request in the desired format.

public record Event(
String name,

@DateTimeFormat(pattern = "yyyy-MM-dd'T'HH:mm:ss'Z'")
LocalDateTime time
) {
}

Running the test again will confirm that it passes successfully.

info

Changing the request format does not change the response format. Response format changes can be set using annotations like @JsonFormat, but this is not covered in this article.

While this is a simple solution, it may not always be the best. If there are many fields that need conversion, manually adding annotations can be quite cumbersome and may lead to bugs if an annotation is accidentally omitted. Using test libraries like ArchUnit1 to check for this is possible, but it increases the effort required to understand the code.

2. WebFluxConfigurer

By implementing WebFluxConfigurer and registering a formatter, you can avoid the need to add annotations to each LocalDateTime field individually.

Remove the @DateTimeFormat from Event and configure the settings as follows.

@Configuration
public class WebFluxConfig implements WebFluxConfigurer {

@Override
public void addFormatters(FormatterRegistry registry) {
DateTimeFormatterRegistrar registrar = new DateTimeFormatterRegistrar();
registrar.setUseIsoFormat(true);
registrar.registerFormatters(registry);
}
}
danger

Using @EnableWebFlux can override the mapper, causing the application to not behave as intended.2

Running the test again will show that it passes without any annotations.

image4

Applying Different Formats to Specific Fields

This is simple. Since the method of directly adding @DateTimeFormat to the field takes precedence, you can add @DateTimeFormat to the desired field.

public record Event(
String name,

LocalDateTime time,

@DateTimeFormat(pattern = "yyyy-MM-dd'T'HH")
LocalDateTime anotherTime
) {
}
    @Test
void helloEvent() {
webTestClient.get().uri("/event?name=Spring&time=2021-08-01T12:00:00Z&anotherTime=2021-08-01T12")
.exchange()
.expectStatus().isOk()
.expectBody()
.jsonPath("$.name").isEqualTo("Spring")
.jsonPath("$.time").isEqualTo("2021-08-01T12:00:00")
.jsonPath("$.anotherTime").isEqualTo("2021-08-01T12:00:00");
}

image5

tip

When the URI becomes long, using UriComponentsBuilder is a good approach.

String uri = UriComponentsBuilder.fromUriString("/event")
.queryParam("name", "Spring")
.queryParam("time", "2021-08-01T12:00:00Z")
.queryParam("anotherTime", "2021-08-01T12")
.build()
.toUriString();

Conclusion

Using WebFluxConfigurer allows for globally consistent formats. If there are multiple fields across different classes that require specific formats, using WebFluxConfigurer is much easier than applying @DateTimeFormat to each field individually. Choose the appropriate method based on the situation.

  • @DateTimeFormat: Simple to apply. Has higher precedence than global settings, allowing for targeting specific fields to use different formats.
  • WebFluxConfigurer: Relatively complex to apply, but advantageous in larger projects where consistent settings are needed. Helps prevent human errors like forgetting to add annotations to some fields compared to @DateTimeFormat.
info

You can find all the example code on GitHub.

Reference

Footnotes

  1. ArchUnit

  2. LocalDateTime is representing in array format